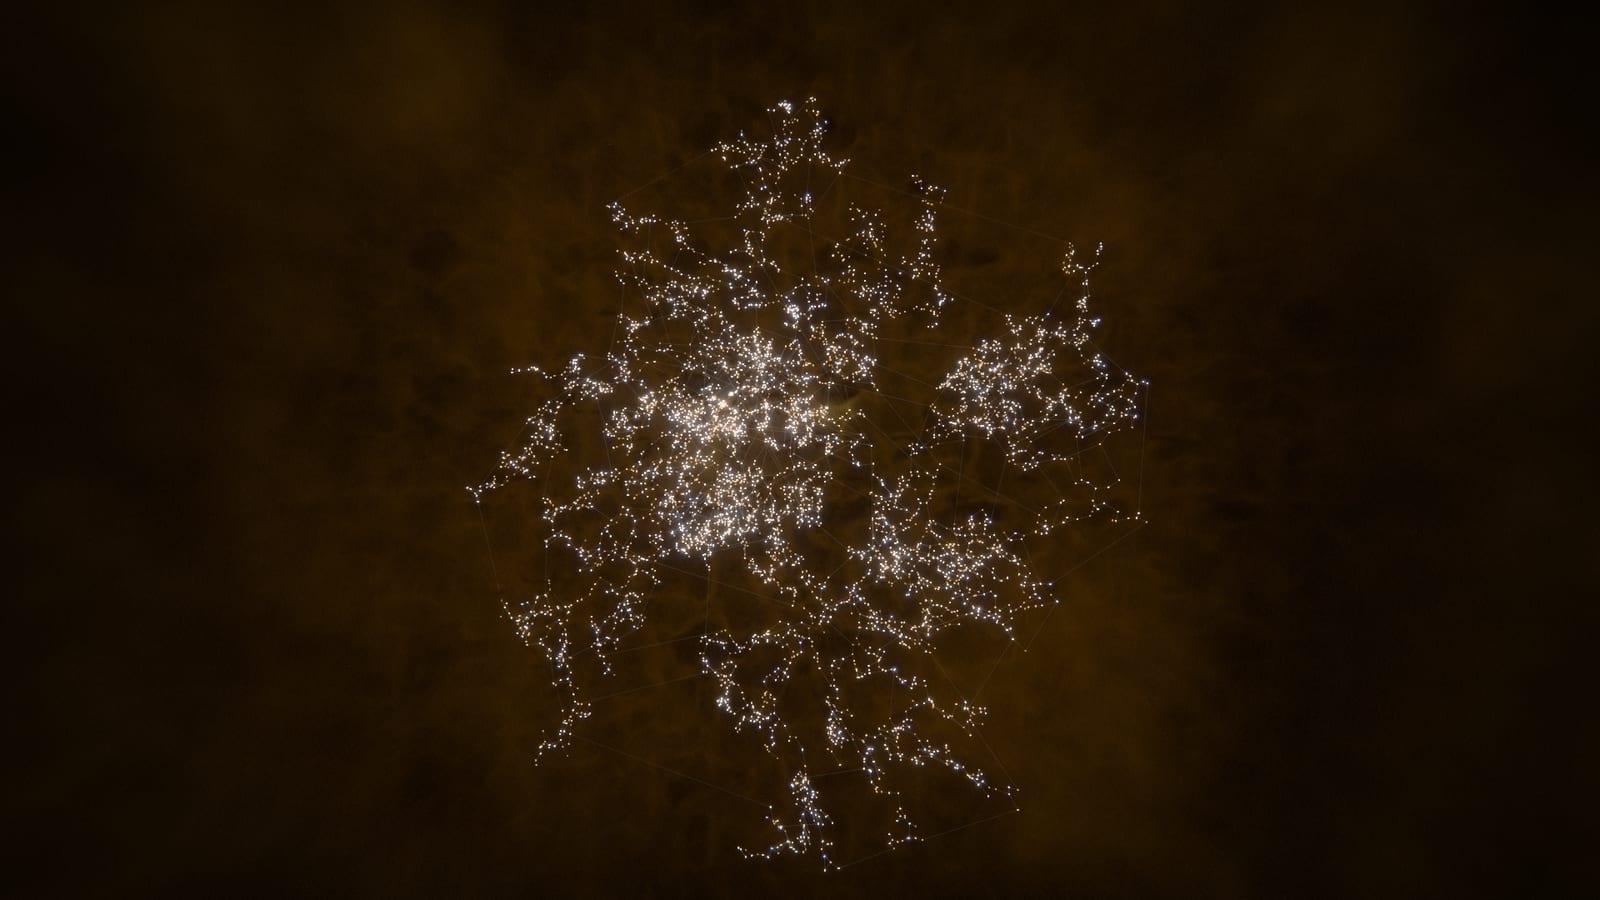
So this one started with a request. A content creator who makes EVE Online videos and battle reports asked if EO-Map could do a few things for footage: pick a region and highlight it, show its name, optionally show every region name, and support a 3Dconnexion SpaceMouse for flying the camera. Fairly small list. What it turned into over the last few days is a whole new panel called Creator Mode, and I think it is probably the most fun thing in the app now.
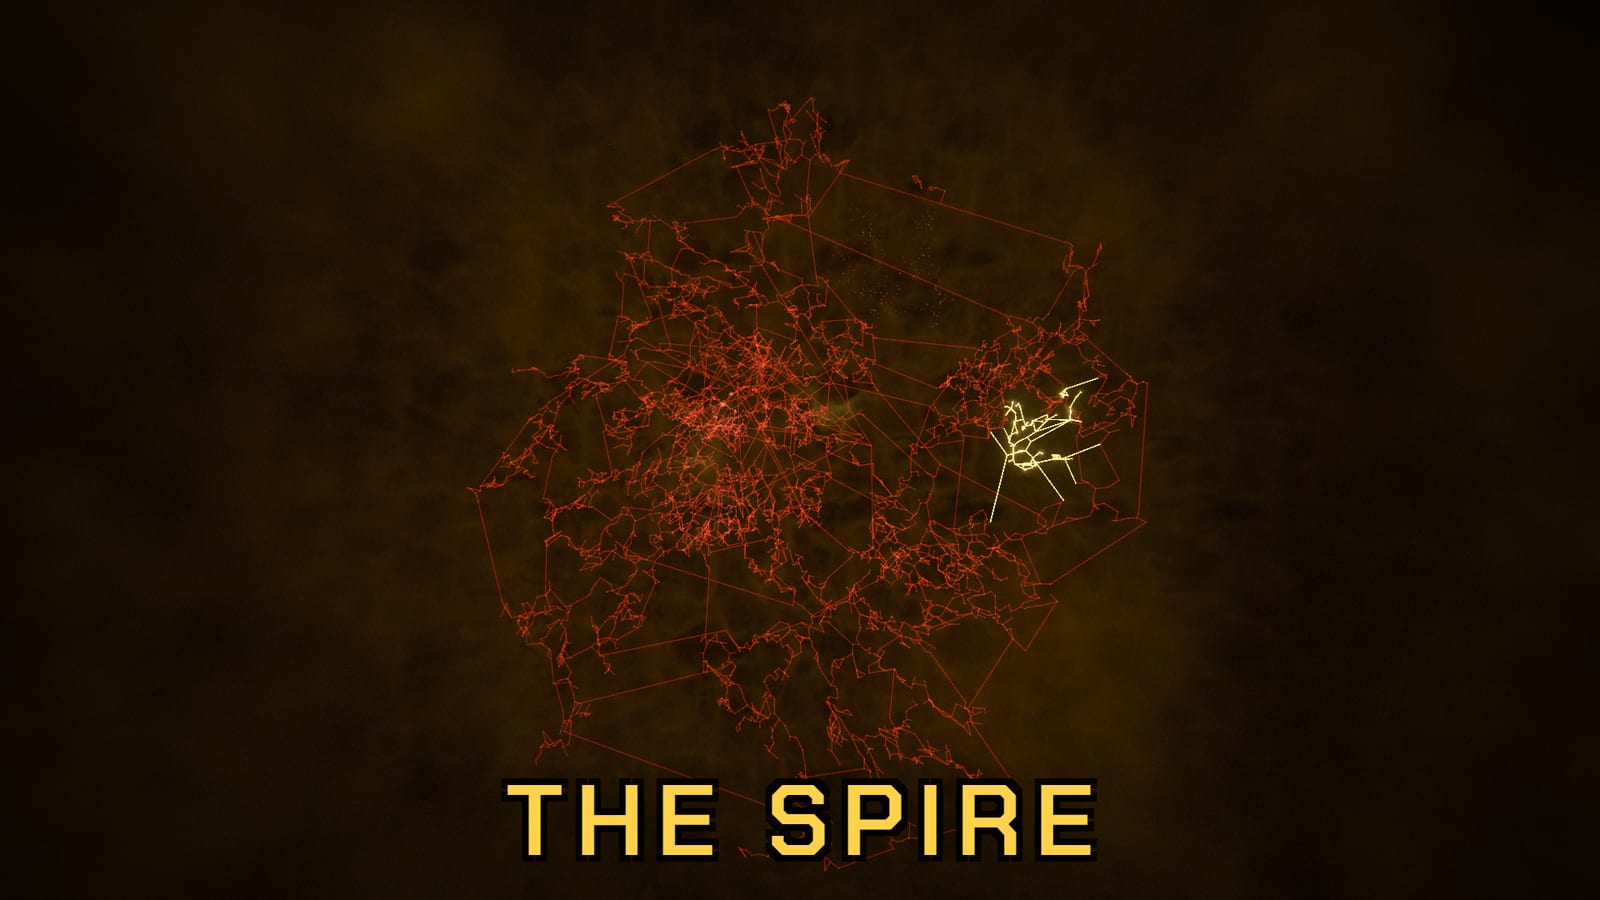
The short version is that Cinematic Mode makes the map look good for you, and Creator Mode hands you the controls and lets you decide. If you want to record a fleet fight recap with the region in question glowing yellow and the rest of New Eden dimmed to a dull red, that is now a couple of minutes of clicking rather than something you would need to fake in an editor.
Where it is and how it is organised
Creator Mode lives in the Tools Library under the Map Visuals tab, or you can open it directly with eo-map.com/?panel=creator-mode. It is desktop only, which I think is fair for a tool that exists to record footage.
The panel opens with a strip along the top and six tabs underneath. The strip has the on and off switch and five starting points, My map, Cinematic, Ember, Ice and Noir. A starting point loads values and then stops mattering, so you can start from Cinematic and strip the gas out, or start from your ordinary map and build the film look up piece by piece. The tabs are named for the decisions you make rather than for anything under the hood. Look is what the picture looks like, Colour is what colours it is, Regions is what the picture is about, Effects is whether anything moves or happens, Camera is how you frame and capture it, and Scene is how you save and share it. There are roughly 180 controls in there, which sounds like a lot, but the ones you reach for first are at the top of each card and the fine tuning is folded away underneath.
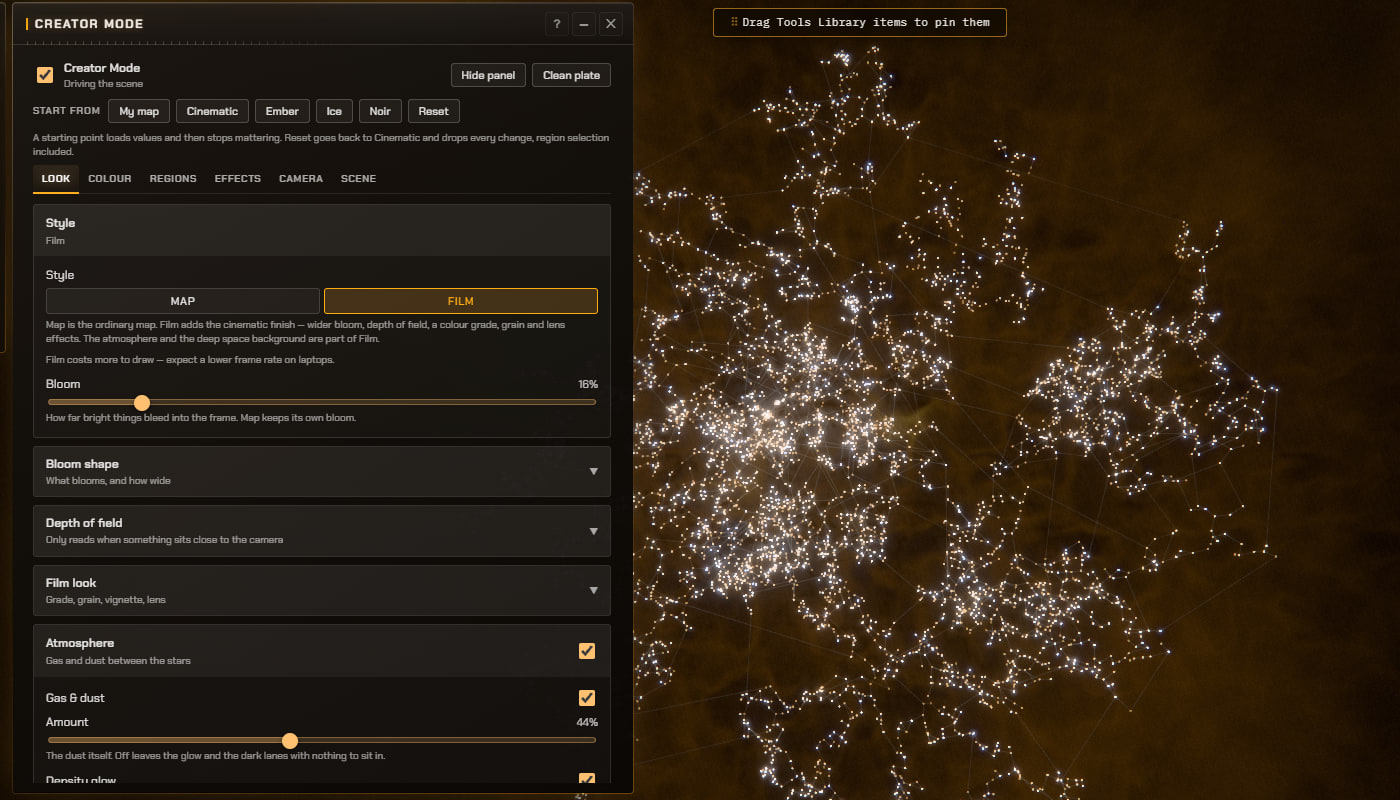
The first version of this panel, which I had an agent build against that original request, worked but honestly read like a debug panel for the graphics engine. It asked you to choose a render path and a star treatment before you could do anything, and half the sliders were disabled with reasons that only made sense if you had read the shader code. I used it myself and could make things happen, but I would not have handed it to anyone. So the second pass was about taking the same engine and presenting it as creative choices. The rule I gave the agents was that a creator should be able to think in terms of I want this darker, I want a red universe, I want yellow stars in this region, and never in terms of which rendering chain they are on. Whether that landed is for you to judge, but it is a lot closer.
The starting points
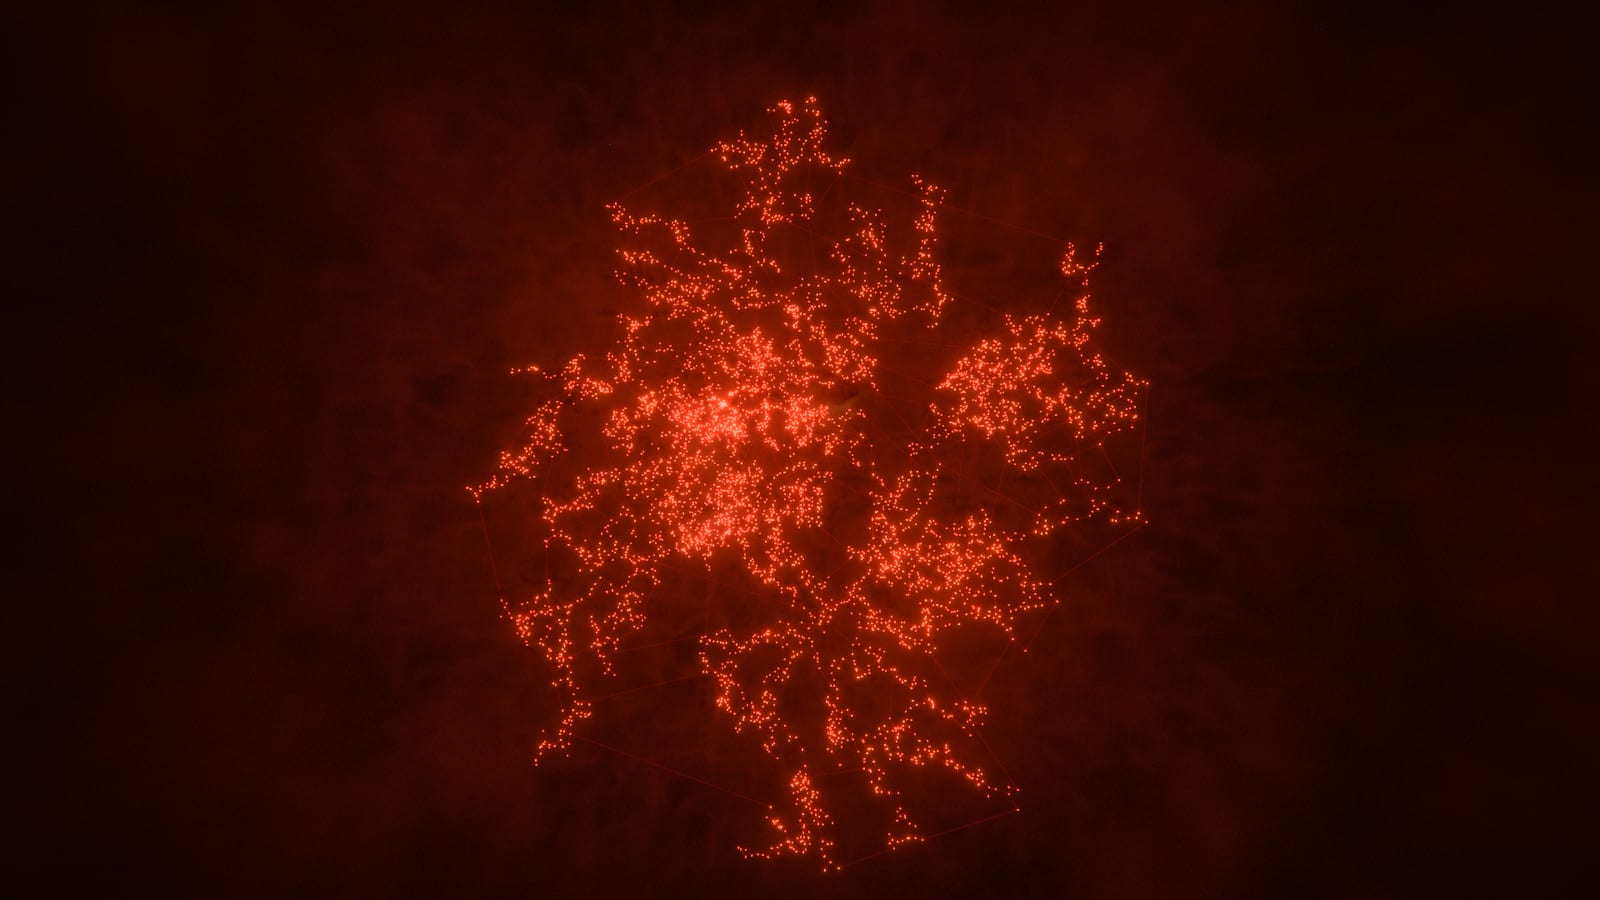
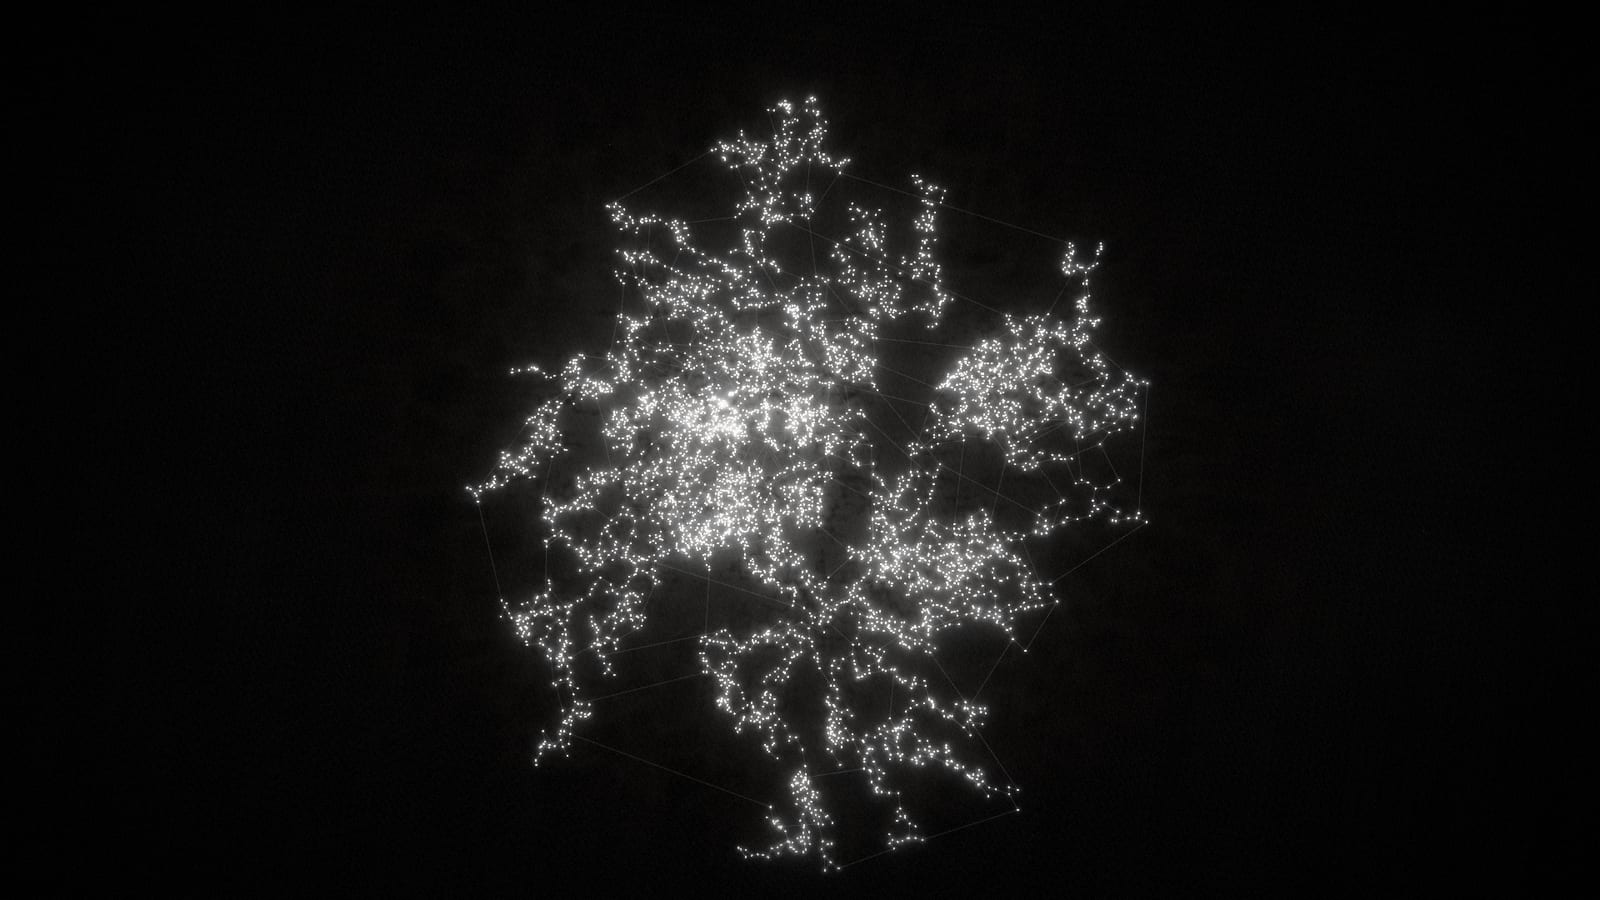
My map is exactly your normal map with your own display settings, and Cinematic is the existing cinematic look with the volumetric gas and the film finish. The other three are there mostly to show what the thing can do. Ember is a warm red scene, Ice is a cool desaturated blue, and Noir drops the saturation to almost nothing and leans on the vignette. I would treat them as demos more than finished looks. Load one, then go and change things.
Colour
This was the bit I was least happy with in the first version. There were colour controls scattered about, but there was no way to say I want this whole composition to be red. Now there is. The Colour tab has a Scene colour card at the top with one swatch and four tick boxes for stars, atmosphere, backdrop and gates, and an Apply button. It writes the ordinary colour fields underneath, so you can apply a red and then pull the gates back to grey, or keep the stars natural and only tint the gas. Under that you get the individual cards. Stars can be their natural class colours, a film palette, or coloured by data such as security status using the existing Star Colouring modes. There is a gate colour, an atmosphere tint, a backdrop tint, a background colour, and a whole frame grade with a tint and a saturation slider that works on both the Map and Film styles.
Regions, which is what was actually asked for
Search for a region, tick it, and it gets a highlight colour. Highlight strength changes the brightness and size of the stars as well as their colour, because the first version only shifted the hue and you genuinely could not see it move. Everything outside the selection can be left alone, dimmed with an optional colour, or hidden entirely. Hidden is only a presentation trick, routing and search still see the whole universe. The stargates can follow the regions so the highlighted area reads as one connected shape rather than yellow dots with grey threads leaving it. Region names can be shown for the selection or for every region on screen, up to 48 at once, and the name size now goes to eight times normal because for a close shot of one region you want it enormous.
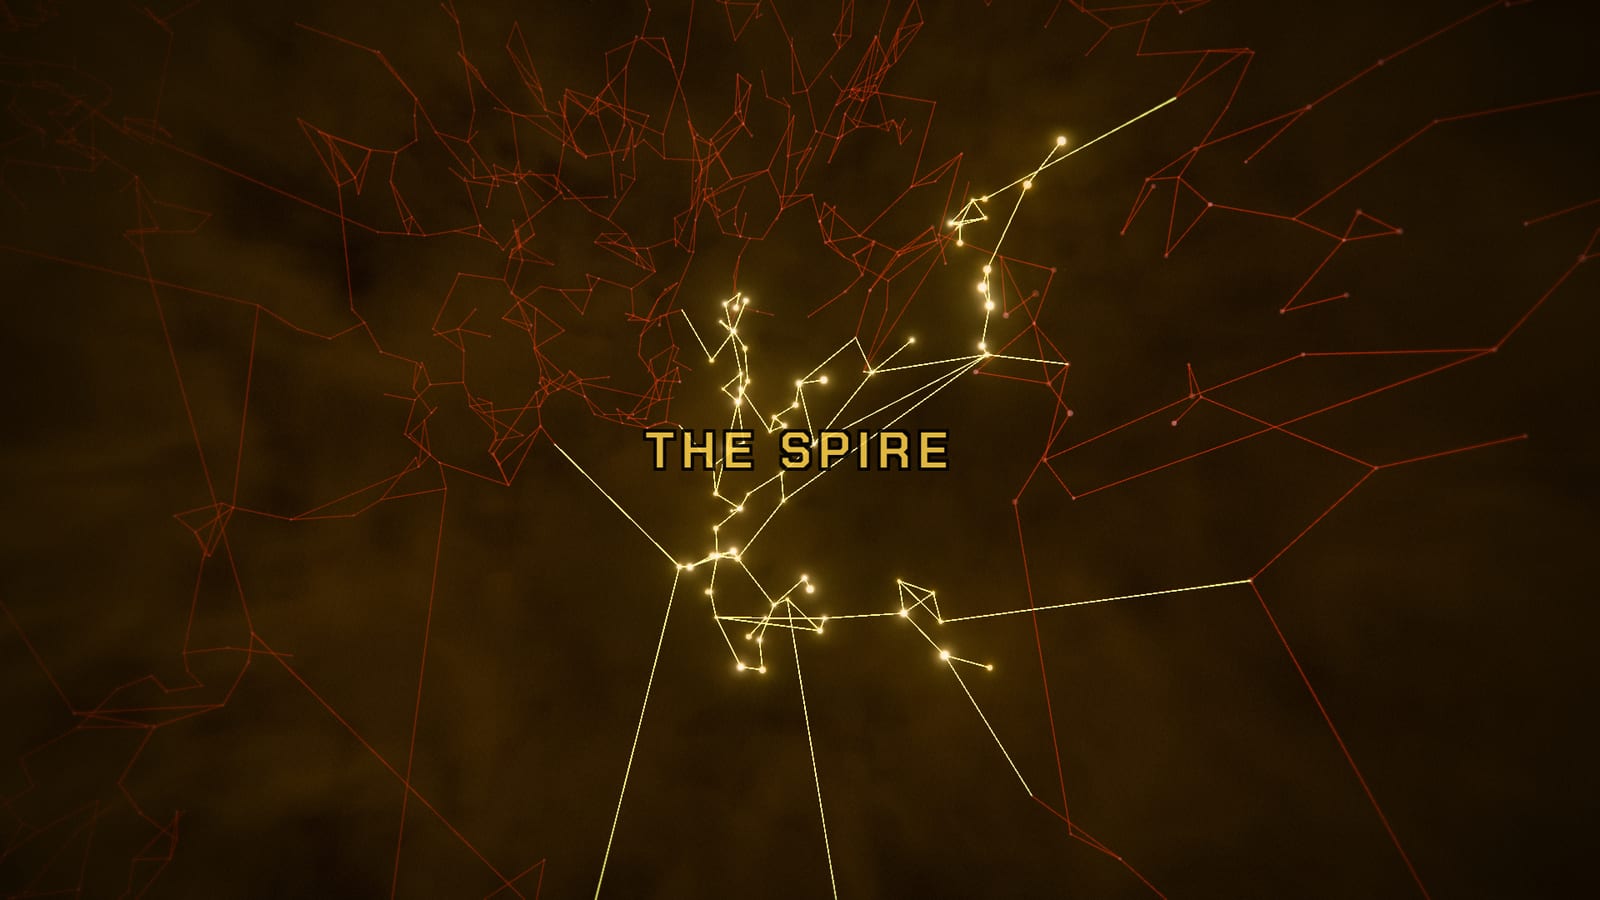
There is also a Title card, which came out of a review where someone pointed out that the region label is pinned to the region, so it slides out of frame as you zoom in, and that you cannot type your own text. So now you can. Pick a screen position, type whatever you want, set the size, and it holds its place while you move the camera and survives the clean plate. Battle report title cards, basically.
Effects, and stopping things happening
The map fires its own supernovae, novae, pulsars and shooting stars when the cinematic effects are on, and live kills from the killboard flash as they arrive. Great on a normal day, not great halfway through a take. The Effects tab has a Quiet scene switch that is on by default in Creator Mode. It stops the random astronomical events, stops the camera wandering off on its own, and hides the live kill flashes while you compose. The kill data and the ticker are untouched, it only stops them being painted. There is a further switch to freeze the slow drift of the dust and background layers if you want a frame that is completely still.
Going the other way, you can fire an effect on purpose. Search for a system, press Use, pick a pulse, supernova, kilonova, nova or pulsar, choose a colour, size and duration, and press Fire. It is purely visual. Nothing is written to the kill history, the ticker or the stats, so nobody is going to see a fake kill in Jita because you wanted a flash for a transition.
Camera and capture
Hide panel takes the Creator panel out of the frame and leaves the rest of the interface. Clean plate takes everything out. A small restore pill fades away after a couple of seconds and comes back when you move the mouse, and Escape always brings the controls back. The map still responds to the mouse in both states, and the automation hooks used by the video pipeline keep working, which the old Hide UI button did not manage.
The SpaceMouse support is in the Camera tab as well. It uses 3Dconnexion's own driver path rather than raw USB, with a free flight mode that has no fixed centre of interest, an orbit mode that keeps the normal map controls, six independent inversion switches, speed and smoothing settings, and a diagnostics readout. I have to be honest here, I do not own one, so this has been tested against a simulated device and not real hardware. If you have one and try it, I would like to hear how it behaves, and the diagnostics panel exists so you can tell me what the driver is sending.
Saving a scene
The Scene tab lets you copy or download the whole composition as a JSON file and paste one back in. A scene is everything the panel controls, so you can build a look for a series and reuse it, or send it to someone. Your own 3D mouse settings stay out of it since those are about your desk, not the picture. Switching Creator Mode off puts the map back exactly as it was, and it never touches your display settings while you are composing.
So yeah, that is Creator Mode. It went from a five line request to a fairly big tool, and I think it is in a state where someone can open it cold and start making something interesting inside a couple of minutes. If you make EVE videos and try it, let me know what is missing and I will get it added.